My Editing Workflow

I wanted to share a little bit of my editing workflow so you learn more of my process. This is what happens to your gallery after we shoot together! Sharing parts of my process seems to help answer questions for clients. This also explains why galleries can take the time they do to be finalized for you.
I’m proud of my editing style and process. It’s taken me years of tweaking and continued revision to be where it’s at right now. With that being said, I’m sure there will be more tweaks and improvements as the years go on!
Editing is one of the biggest aspects of my work. It takes time, effort, and attention to detail to take your RAW images and turn them into the photos you receive in your final gallery. In fact, I actually started in the wedding industry as a wedding editor for a wedding photographer! For four years, I worked as an editor, and would hand edit each image. This was before using Lightroom too! I used Photoshop and got really good at learning that program. After incorporating Lightroom into my own workflow a few years later, I’m capable and confident when it comes to editing.
If you’ve ever been curious about what happens to your images after we shoot together, read ahead for an overview of my own unique process!
1. Backing up images
The first thing I do is backup your images in 3 different places to ensure against loss. This is the first important step! I shoot on two cards at a time so your images are automatically backed up right away. Then I come home and export them onto my hard drive, which is then backed up via a cloud-based backup server. The cards with the RAW images are then stored in a fireproof safe until I deliver the final gallery.
2. Preview images
For weddings, I deliver preview images within a few days of your wedding. Sometimes this window is determined by travel, etc. but my goal is 24-48 hours! I select a handful of images to give my couples, and edit them in the same style I’ll be editing the full gallery.
3. Culling
When it’s time to sit down with your gallery, I will first cull your images. This means I go through every image from your day. I sort out the good ones from the blurry, blinking, duplicate, or otherwise unusable images. Often I am left with a hefty amount of images because I tend to deliver more than my contract states. Yes there are probably semi-duplicate images in your gallery. That’s because my philosophy is I would rather my clients make the final selections. Facial features change so quickly from frame to frame!
A note on AI software: I have recently started exploring harnessing the power of AI culling software. This powerful tool is an aid or assistant when it comes to culling. Basically I set filters for each gallery with parameters that determine images selected. The software is incredibly accurate so far, and I always go and review images and overwrite with my final selections. The software takes some of the load off which is awesome! Some photographers outsource culling to human editors, and I probably won’t do that any time soon. I’m too much of a hands-on editor right now. 🙂
Some galleries I still hand cull only because I am playing with how much I like the software right now.
4. Editing
Once I have my final images selected, I import all the images into Lightroom. Then I send them to my editing software (it’s the same as my culling software!)
In order to get a close edit to my standard editing style, I have previously uploaded over 5000 edited images to the AI editing software so it can “learn” my style. And it does a pretty good job! Once again, the preliminary edits that the AI software applies act as an assistant to get the images close to the final result. It takes one general step off my plate. It gives me more free time to pour into my clients, business, and personal life.
The images will run through this preliminary editing, and then I go in and touch each image and make any tweaks I feel are necessary. It takes a lot of time, but I can’t let any galleries go without knowing I have tweaked or approved how each image looks!
In this phase is also where I make minor healing adjustments and crop as needed.
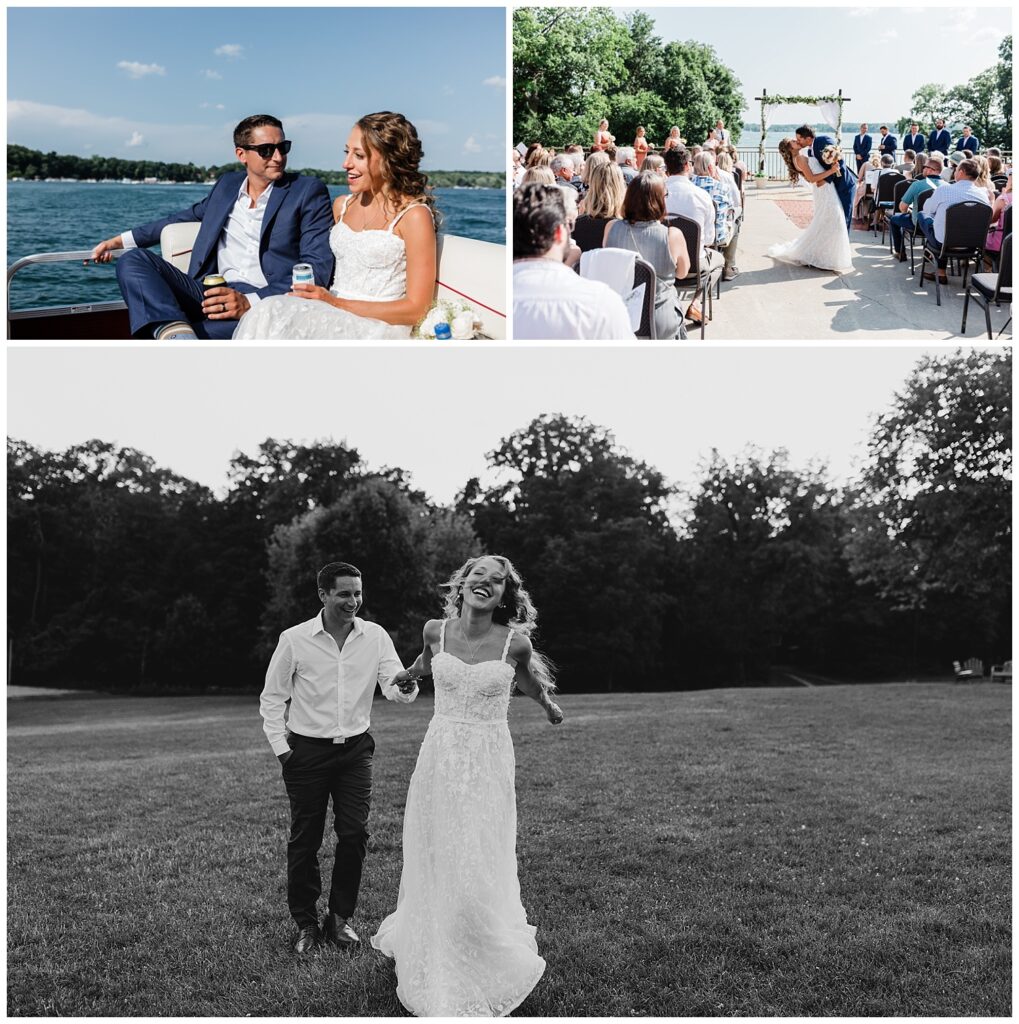
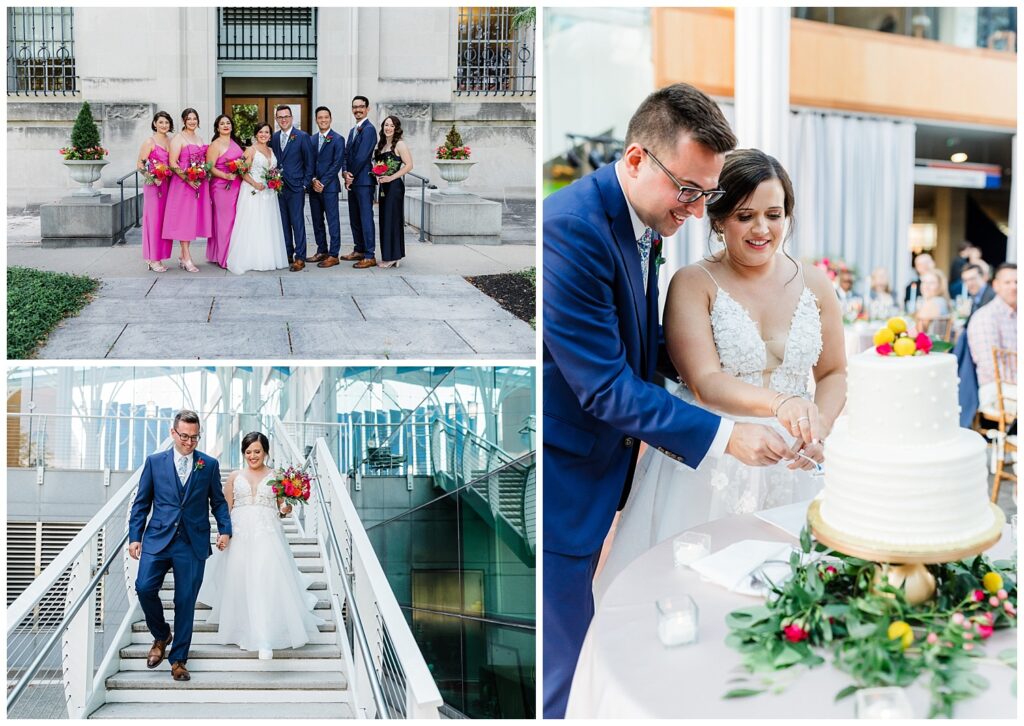
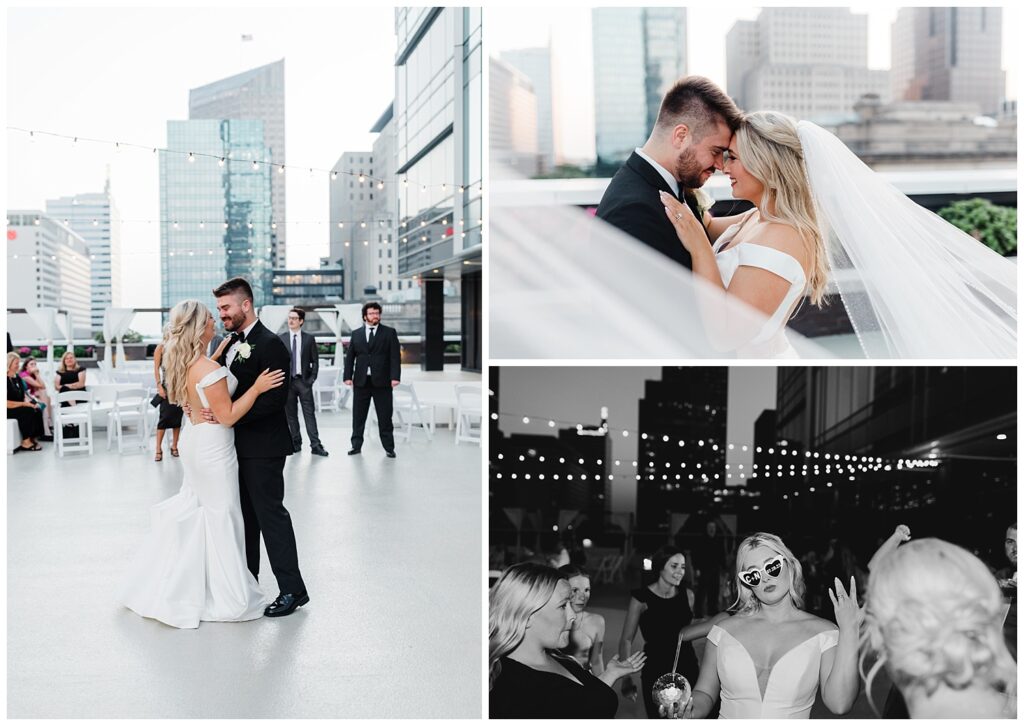
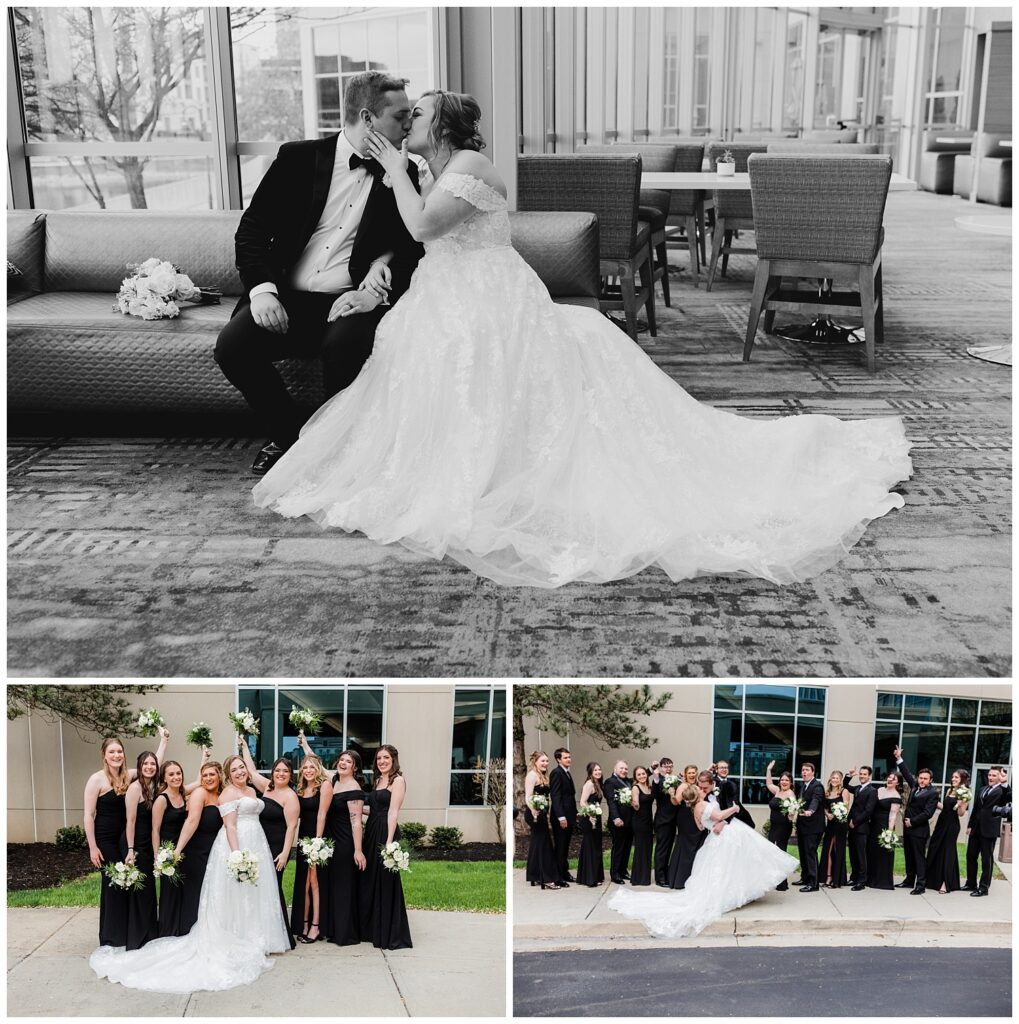
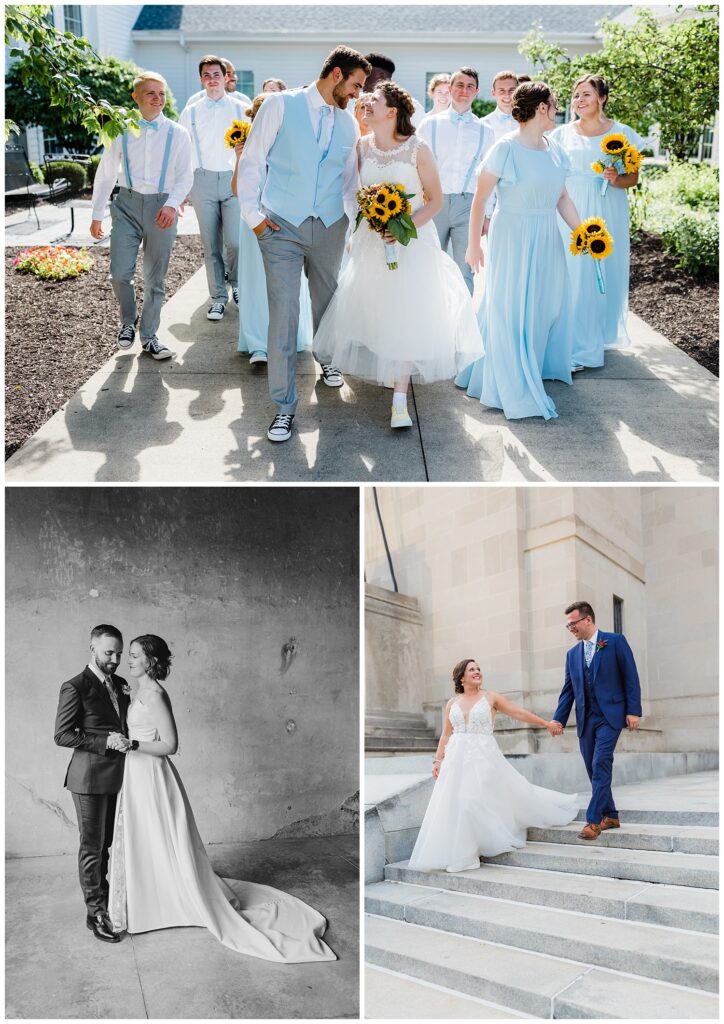
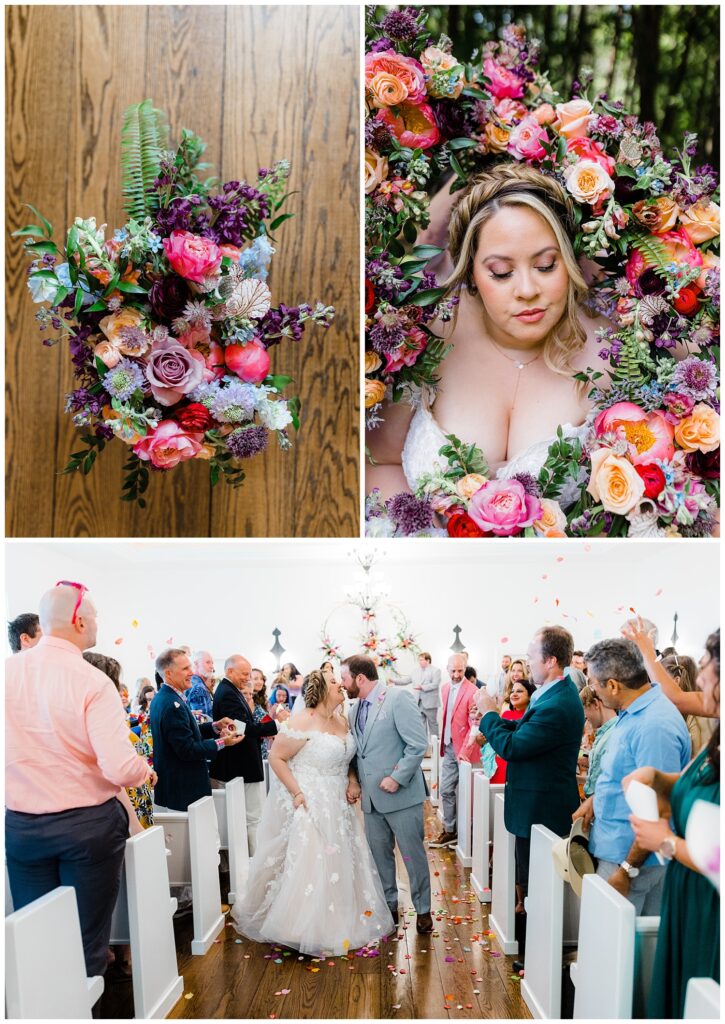
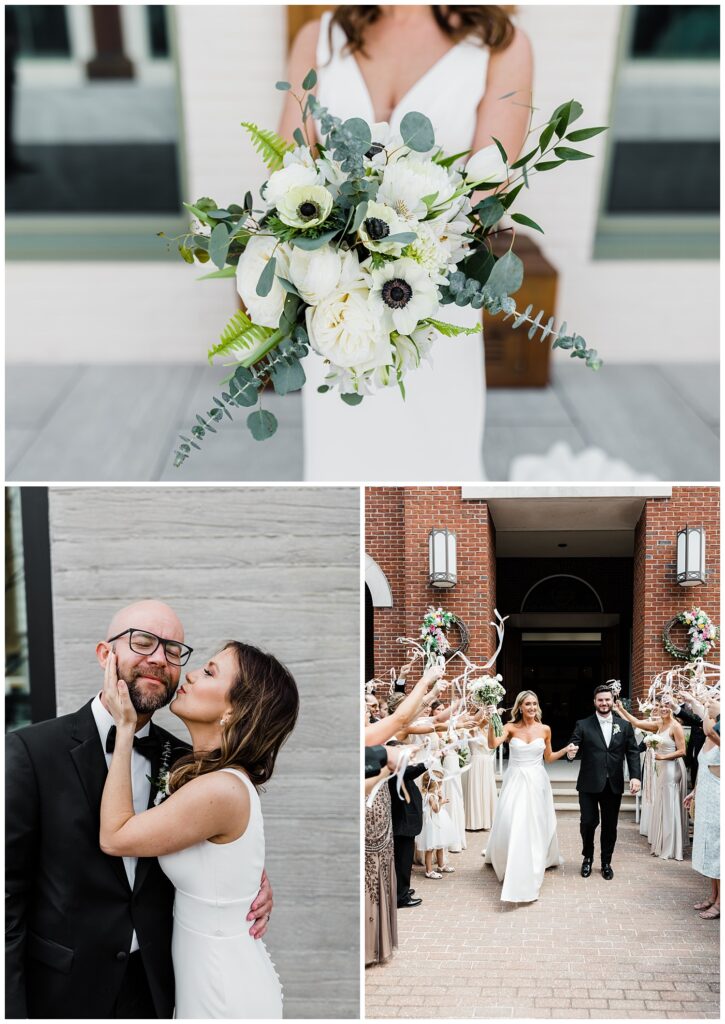
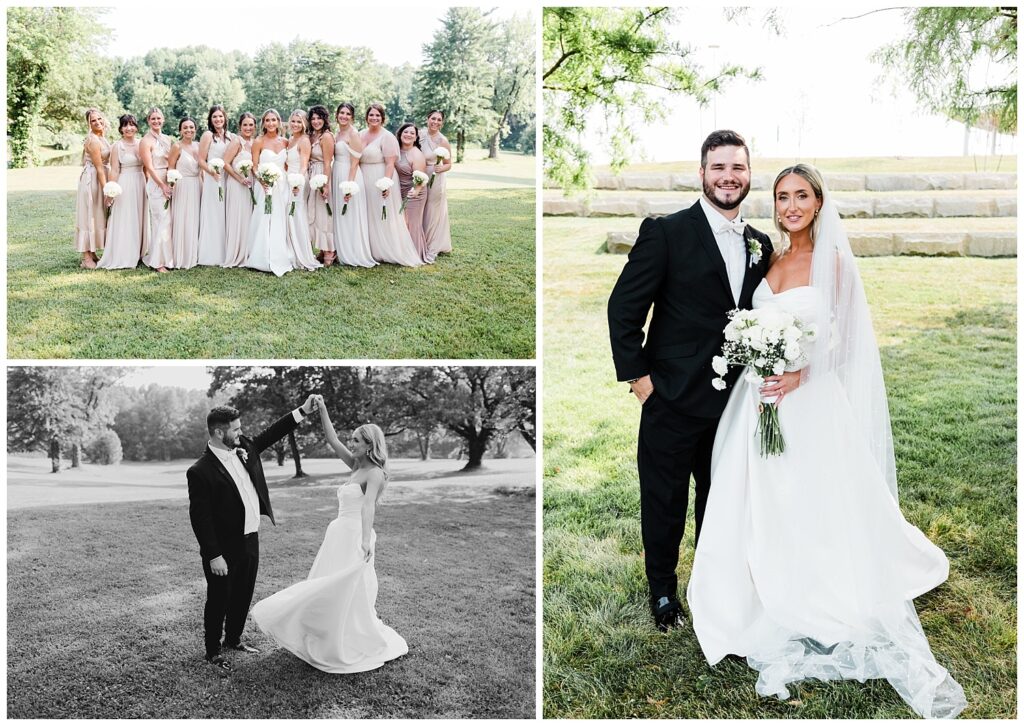
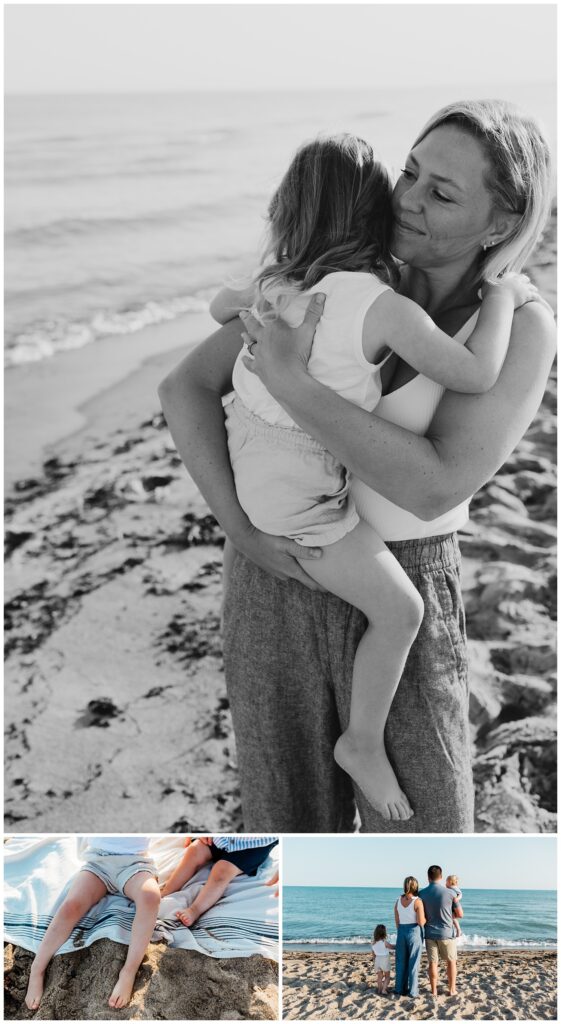
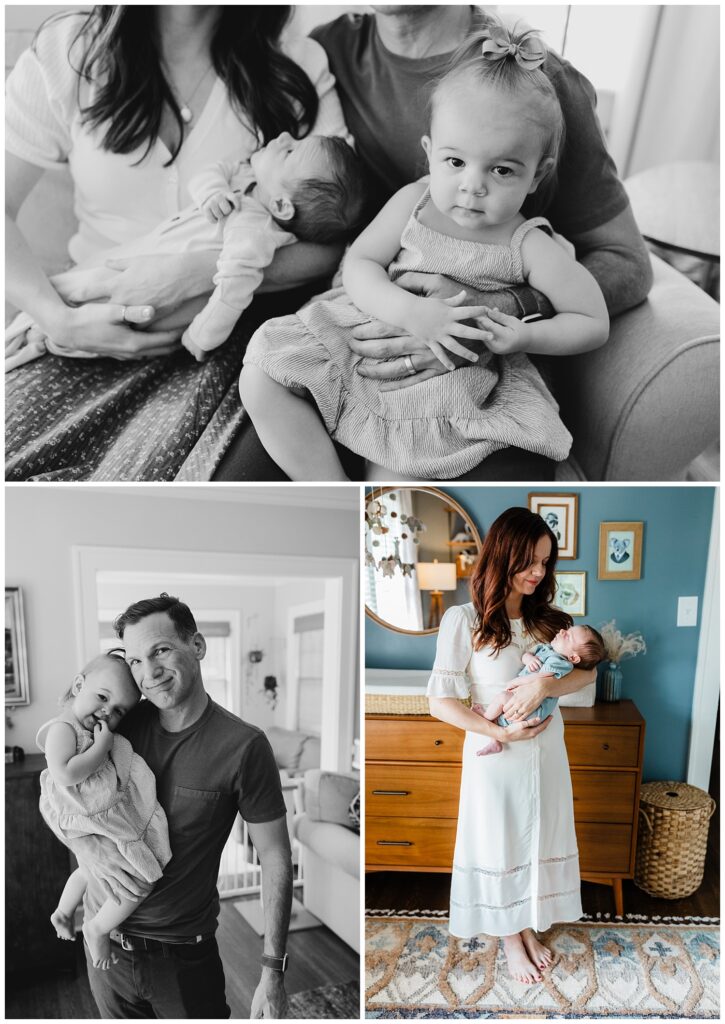
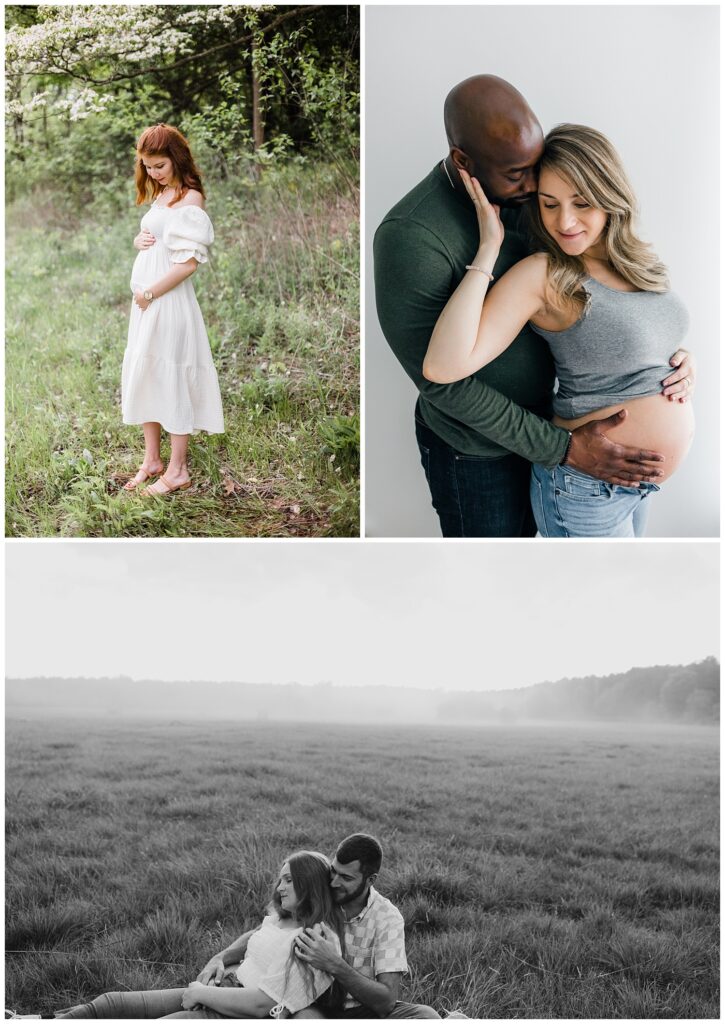
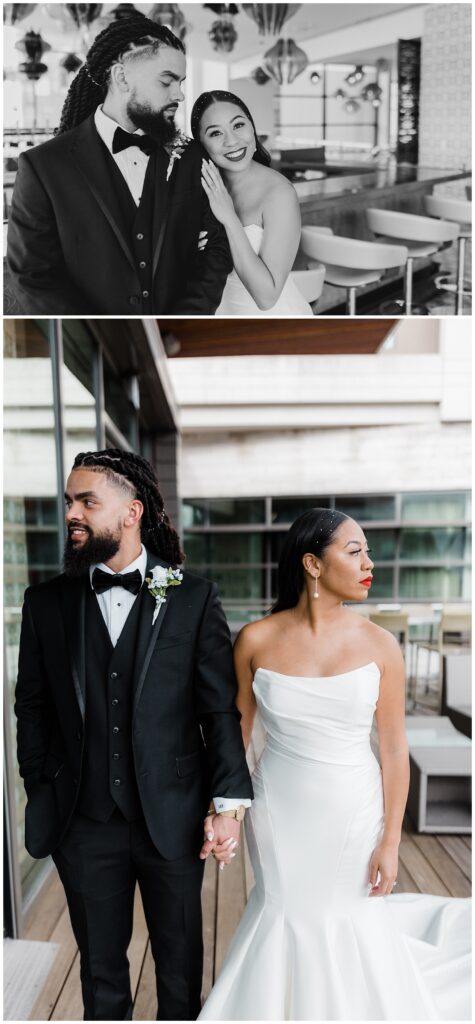
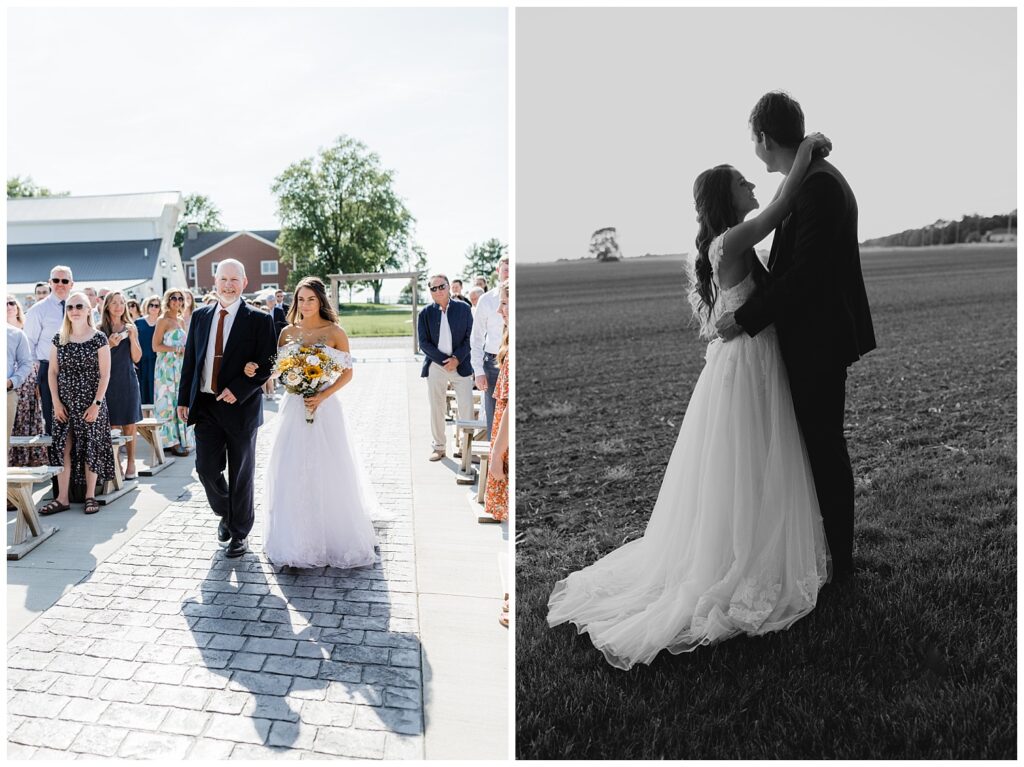
A note on my editing style: my style, as every photographer’s style, evolves and has changed since I first started. My ultimate goal is to edit so that skin tone is true to color, and there is a vibrant pop of contrast in your images. I don’t want your images to be too orange, or too light and airy, or too dark and moody. I strive for a good in-between, natural and vibrant tone.
When I share galleries with potential clients, I want them to know that while I work to stay consistent with my editing style, every single venue, wedding day, and couple will have a unique look and therefore their gallery edits will be unique to them. The lighting conditions in one gallery might be vastly different than the lighting conditions in another, so there will be some differences. I always suggest couples look through my website and Instagram to get an overall feel of how my general style is!
5. Photoshop
After exporting the final edited gallery, I bring any images into Photoshop if they need some additional touch ups, such as removing a ton of unwanted clutter in the backdrop, etc. This is often just a handful of images. I do my best to ensure I’m gently posing my subjects in locations and spots that are strategic and won’t require a ton of Photoshop work.
A note on touch ups: I keep my editing as natural as I can, which means I do not heavily edit and touch up subjects with smoothing skin, altering body shape, etc. If there are blemishes that are temporary and very obvious, I’ll clean those up, but requests for extremely heavy touch ups will be outsourced and a separate fee applied per image.
6. Uploading
Now it’s time for your images to be uploaded onto my gallery hosting site! I have them named and numbered chronologically, and they get divided into tabs in your gallery by parts of the day. So I usually start with details, and end with open dancing or sunset photos. This helps viewing your gallery really fun and easy, since you aren’t having to look at the entire gallery all together.
I host the images on my gallery for at least one year, and I encourage clients to download their entire gallery and store it on a back up system like a hard drive, flash drive, or cloud storage option.
There you have it! I hope my editing overview is helpful to understand a little bit more of my process and back end work! If you have any questions, don’t hesitate to reach out!